I was unable to upload the pdf file with videos in it, it was way too big, so I put the videos on youtube. Please click on the links to access the videos.
Video One : https://www.youtube.com/watch?v=SulVR8oLQ-4
Video Two : https://www.youtube.com/watch?v=ZT3m_a65l5g
Video Three : https://www.youtube.com/watch?v=0sOT6p3E2C4
Tuesday, May 31, 2016
Tuesday, May 17, 2016


ROCK . MAKING
10 May 2016

When the shape is very close with fitting the waffle model, I started to use the English Wheel to get rid of some bumps I created by hammering and also polish it in a way. However, the English Wheel does distort my shape a bit. So I had re-do some hammering after polishing and smoothing out my surface. I repeated this process for three or four times until the aluminium skin fits the waffle model perfectly.


Annabel and I finished our shape about the same time. We polished our aluminium skin together so it would look very shiny.


ROCK . MAKING

After one lesson time, I managed to bash the aluminium to a point that almost fits the waffle model. The problem at this point was the edges that some are still not there yet. However, I experienced some difficulties trying to bring these edges back to fit the shape. I bash the aluminium in one direction, the end that I have bashed fit the shape but the rest stick out again. I went back and forth and became quite frustrated by this.

Russell showed me this technique which worked very well is to bash the aluminium at the centre against a tree trunk. The point is if you stretch the aluminium from the centre, and then slowly stretching it out at the edges, the aluminium will bend efficiently.


This is another useful technique which Russell showed me and it solved my problem. With the point on my shape still sticking out, Russell told me bash it from left and right which creates a high point in the middle. Then chisel the in middle bit from the centre down. I used this technique along with the first one he showed me, it worked really well.
ROCK . MAKING
3 May 2016


I started bashing my aluminium sheet to make the general shape of the rock. I bashed the aluminium against the sand bag for most of time, I did manage to some bumps in the middle of the aluminium sheet and at this stage it seems to fit well with one edge of the rock.

Annabel showed me a technique of using a wooden chisel hammer and chisel the aluminium down at the edge against a round surface. This was quite a fast method to stretch out the aluminium.
PROJECT 2 . ROCK


Russell gave me a circular shaped pure aluminium sheet and I decided to give a go making the top surface of the rock. The size of the aluminium sheet should cover most of the top surface. The top surface of the rock is very interesting, because it is close to a bowel shape, the metal will have to bend in three directions.
Project 2 . Swapped Shape
May 3 2016


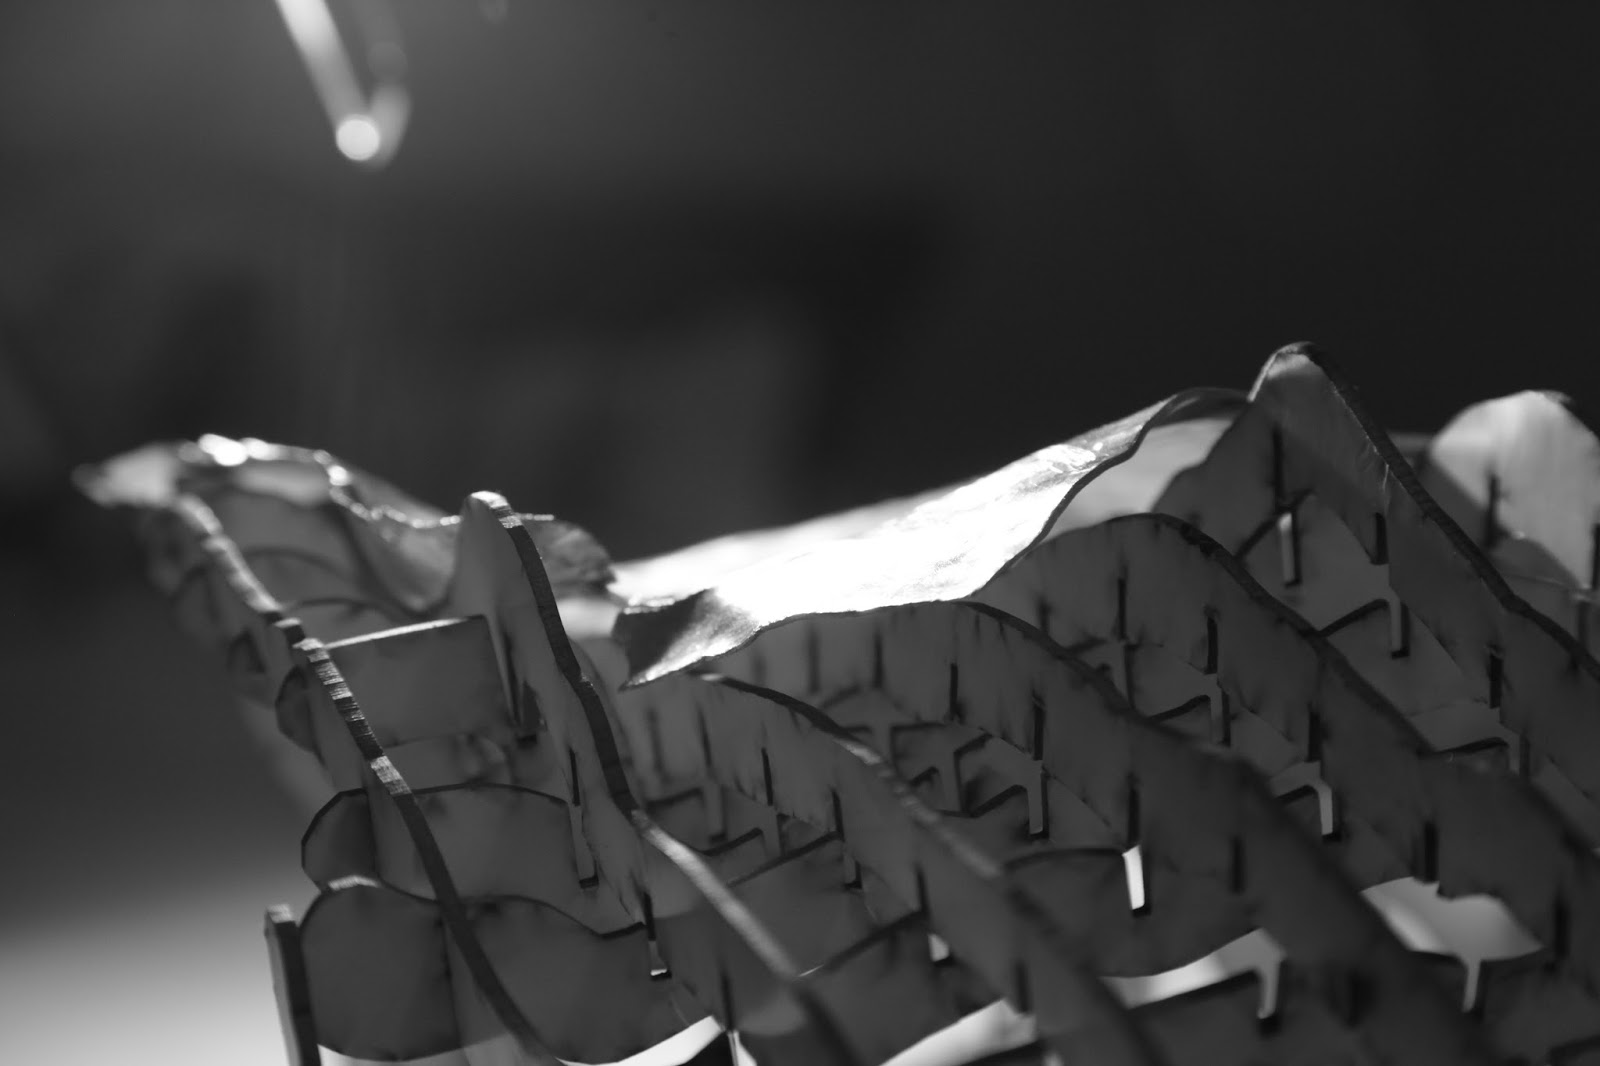
I swapped my shell with Alex Swallow who is a current 3rd Year Landscape Architect. This is a rock that he did as an object for the last submission. He passed on the waffle model to me. The model is quite rigid at the joints and it is quite a good shape too, so I decided that there is no need to re-laser cut this.
Tuesday, April 26, 2016


SHELL . MAKING
FIRST ATTEMPT - TRIAL


This is my first attempt at bashing aluminium, trying to explore the surface of the shell and test out different ways of bending the aluminium by bashing it against different surfaces. The most difficult thing that I have realised via this attempt was the complexity and subtlety of this organic shape. None of curves on the surface only falls in one way. Often when I curve the aluminium in one direction and then try to stretch it in the other direction, the shape ended up working against each other. It was very hard to achieve a level of accuracy of with such a big working surface. Hence, as Russell suggested that I should do little pieces of just a part of the reference model and do it to a lot of detail. Note how the aluminium was stretched out too far and broke at the middle due to over-bashing.


Subscribe to:
Posts (Atom)