Tuesday, April 26, 2016

SHELL . MAKING

FINAL PIECE . TWO


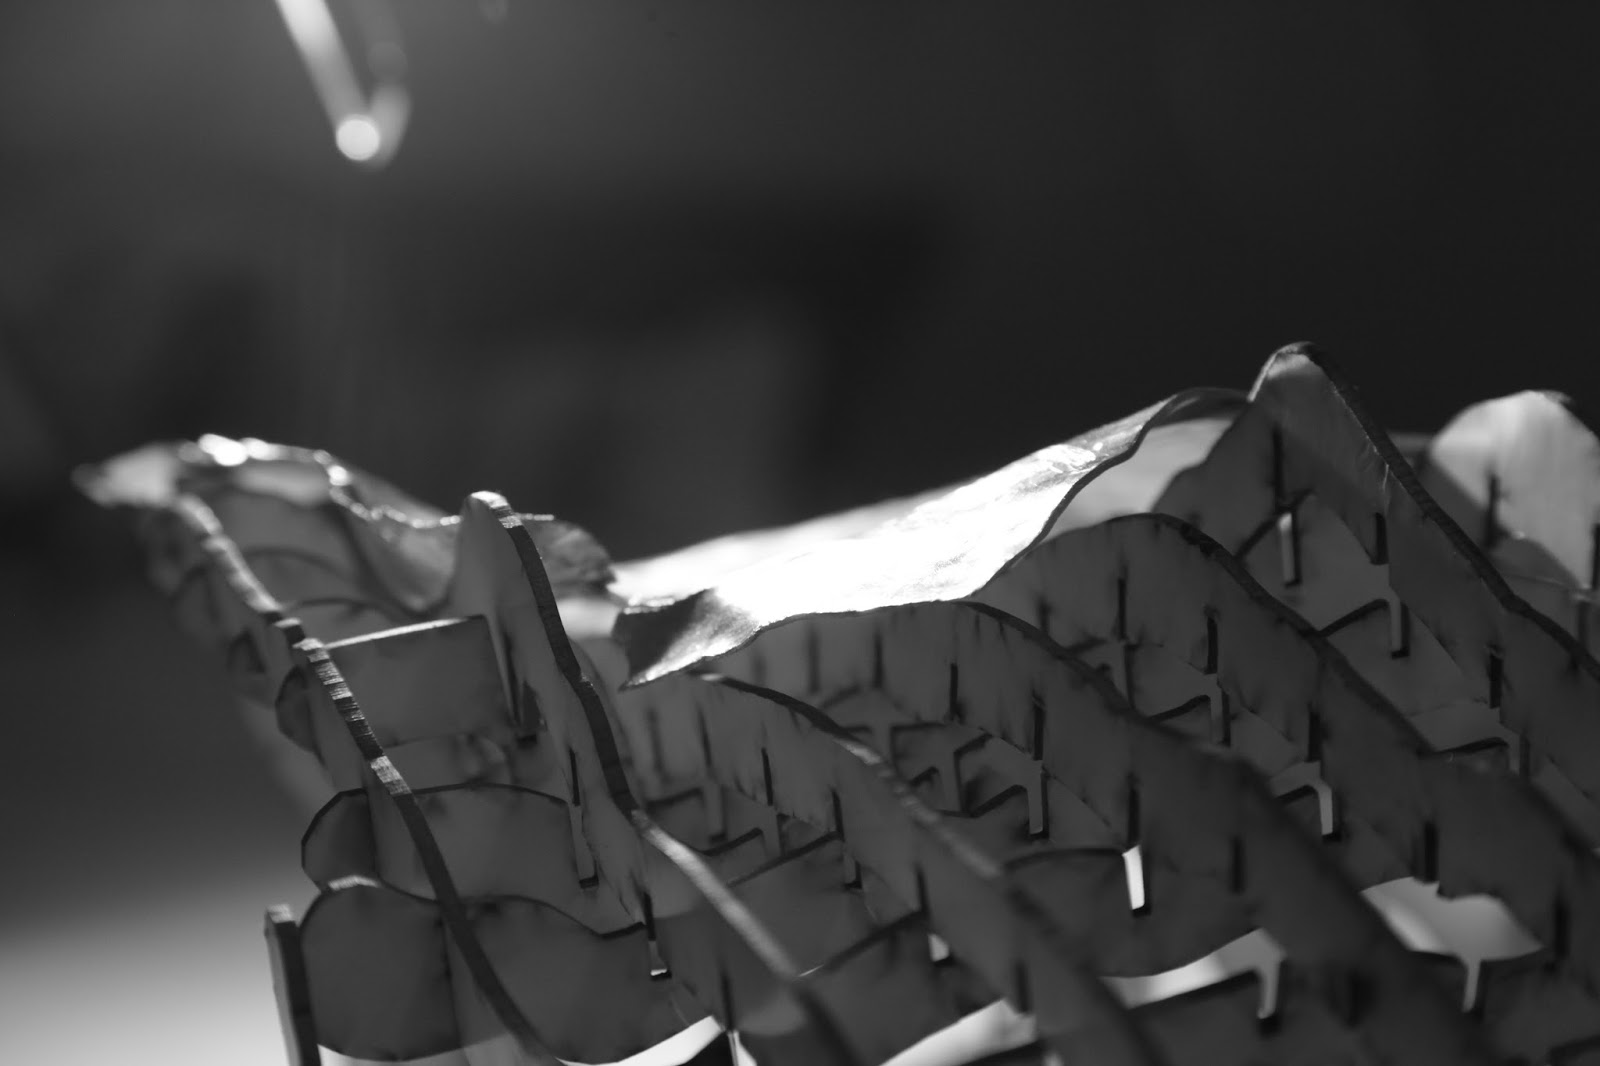
 This is the selected section on the reference model.


*****


*****


SHELL . MAKING

FINAL PIECE . ONE


This is the selected section on the reference model. 


*****


*****


SHELL . MAKING

FIRST ATTEMPT - TRIAL


This is my first attempt at bashing aluminium, trying to explore the surface of the shell and test out different ways of bending the aluminium by bashing it against different surfaces. The most difficult thing that I have realised via this attempt was the complexity and subtlety of this organic shape. None of curves on the surface only falls in one way.  Often when I curve the aluminium in one direction and then try to stretch it in the other direction, the shape ended up working against each other. It was very hard to achieve a level of accuracy of with such a big working surface. Hence, as Russell suggested that I should do little pieces of just a part of the reference model and do it to a lot of detail. Note how the aluminium was stretched out too far and broke at the middle due to over-bashing.

SHELL . MAKING

@Metal Workshop
19 April 2016


I started exploring the entire surface of the reference model on a large piece of aluminium, attempting to understand the art of hammering and the nature of aluminium and the techniques of bending the metal. 

SHELL . REFERENCE MODEL 


This is the reference model put together after being laser cut. The model seemed to work fine even though123D Make has highlighted many pieces in red. The only issues was that it did not joint too well in the centre of model. 
SHELL . 123D MAKE
SECOND ATTEMPT 


Doing 36 panels of laser cutting is a waste of time, and Russell suggested that I should try 'Interlocked Slices' instead. Last time when I tried laser cutting, I have exploded the model to double its original size. I realised it was too big after I have laser cut it out and this time I reduced the scale down by 15%.


 I spent a lot of time changing around the slice directions and this was the best I could get, there were still some pieces highlighted in red by 123D Make indicating either there was a weak point in the slices or it does not join properly with the adjacent pieces. 'Interlocking Slices' does not like organic shapes such as this part of the shell but I had to go with this best result.  


This was the final laser cutting template edited in Adobe Illustrator ready to go.
SHELL . LASER CUT
FIRST ATTEMPT 
7 APRIL 2016


I generated a pdf. file from 123D Make and bought it with me to the FabLab. This is first page of the pdf. as it shows the shape outlines in blue and the engravings in red. 


I have never tried laser cutting, so I asked Anthony for help and he told me that the maximum working surface for laser cutting is 300x600 mm and the outlines should be in red RGB colour, and the engraving should be in blue at 0.001pt. I had to then edit the first template in Abode Illustrator and laser cut it to see if it works out well. 


Once the template is edited in Adobe Illustrator, the file is transferred to a laser cutting software. Anthony advised that I should try it on 2mm screen board to see if it works. 


The first template turned out fine. However the only issue was that I needed to laser cut at least another 36 panel.